
I need to create... at least a little bit every day... or I do think I would die...
It's vacation and between the household and the needed restmoments, I do have time to create every day.
I've been playing a lot with the gelliplate past weeks and I'm making projects with them, but more of these in another blogpost.
What to do with all the beautiful scraps of these handmade papers ? Keeping them in a box to "save" until the lid falls off because of "too full" ? ...
I gave a workshop two weeks ago and one of the techniques I teached was making fabric paper.
All my little scraps of gelliprints, marbled paper,...could perfectly be used in this technique.
Water down PVA glue until the consistency of running yoghort.
Put a piece of plastic or plasticbag on the table and brush glue all over it. Put a piece of cottonfabric on top ( perfect use for old bedsheets...) and soak it completely with the PVA glue.
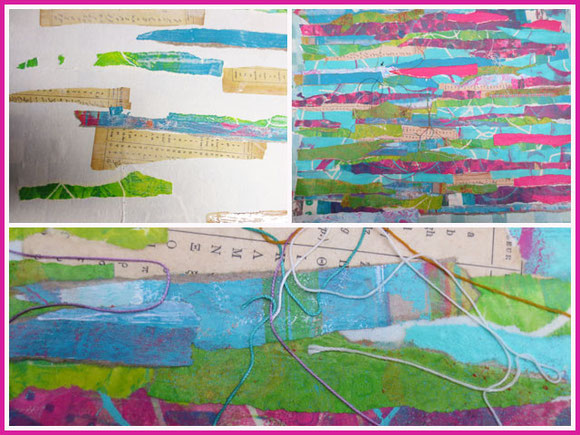
Tear paper in strips or pieces and glue them on the fabric. Put PVA glue over every scrap of paper so they are really, really glued down ànd covered in PVA.
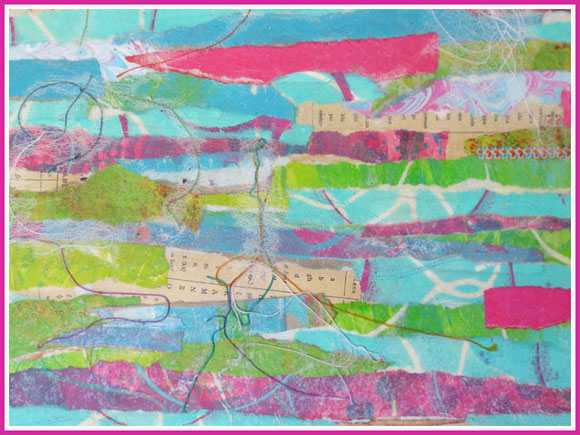
Cover the whole fabric with the paperscraps until you have a "collage" that you like.
You can even glue down pieces of sewing thread ( my cut-offs when I'm sewing, go in a box for this purpose) or you can add paper flowers, diecuts,...
When you are finished you add one piece of white tissuepaper over the whole piece and cover it completely with PVA.
And then.... let it dry overnight until it's completely dry.
The next day you can peel the fabricpaper from the plastic and there you have a flexible paper you can easily sew !
You can use handstitching, embroidery, machinestitching,...
I used a piece of my fabricpaper to make a sewingbook.
I'm asked to be a guestdesigner for Gecko Galz for august and this is one of the projects I made for them using clipart/digital stamps from them.
My other projects will be shown in another blogpost...
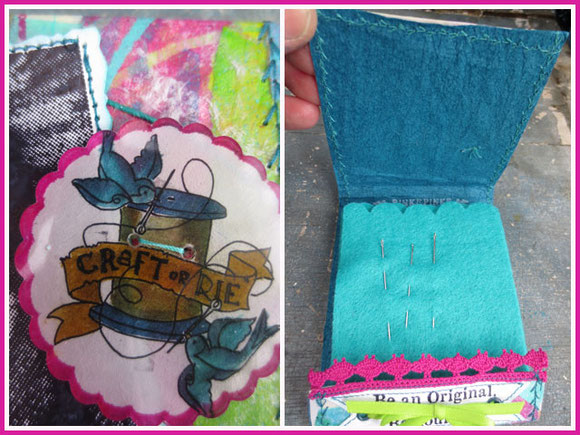
When I saw the clipart/ digital stamps I had to use from Gecko Galz, my eye was caught by this digital stamp " craft or die".
The image immediately made me think of tattoos and maybe I should have this one tatooed too...
I tried to print it on shrinking plastic but I still have the wrong one and the ink bleeded.
So back to drawing... A print with the digital print under the shrinking plastic and drawing the design with a permanent pen.
I colored it both with distress markers as with copic markers.
The back of the fabricpaper is lined with a sheet you put in the washingmachine to "catch floating color". The white sheet must had picked up some colors, cause it came out completely in blue and... "my blue" !
I kept for a while knowing I would use it one day and now it found it's purpose.
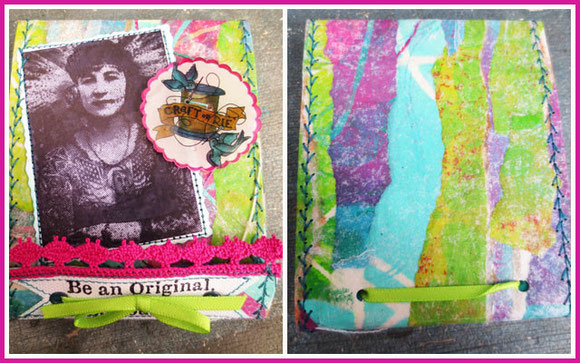
I cut the fabric paper for the sewing book with the Tim Holtz die " matchbook set". The fabricpaper cuts like butter.
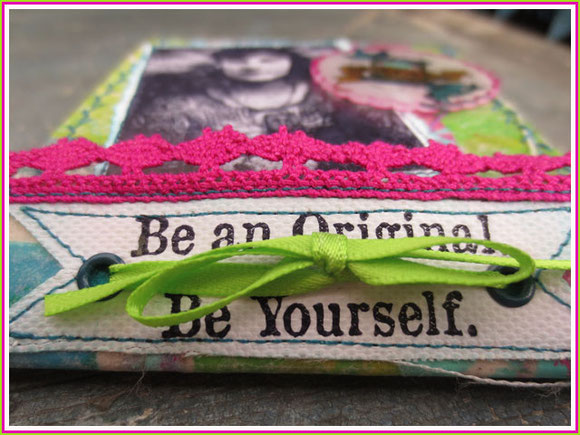
As the digital stamp made me think of tatoos, I wanted a tatooed lady on the front. This stamp and the quote " be an original, be yourself" is from Oxford impressions.
The photostamp was stamped with permanent ink on specialty stamping paper and glued on the sewing book. I stitched around the photo with the sewing machine.
The quote was stamped on canvaspaper, cut into a banner and sewed on.
I then lined the sewing book with the dyed washingmachinecloth and I stitched everything together with a featherstitch.
For the needles, I added felt on the inside and everything is held together with a fabric ribbon.
I love how the sewingbook turned out and wanted it for myself,... but I already have a selfmade one...
I gave it to my daughter for her sewingneedles as she's a "creative tatooed lady" too and she surely is "an original" .:)
Half of August I have another workshop in which I will teach the students to make a telescoping card and several techniques.
I already started making examples.
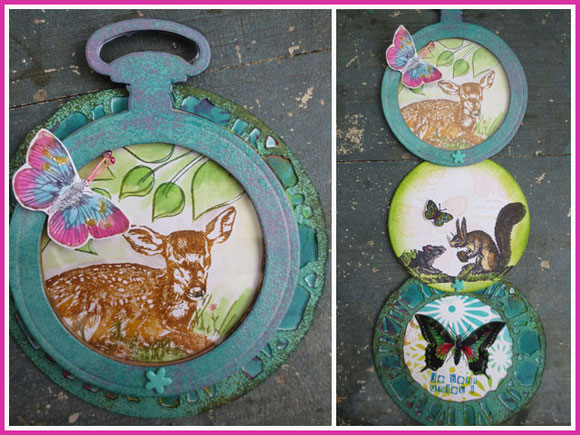
This is how the telescoping card looks when it's closed. When you pull on the topcard, the card opens. You can see Shelly Hickox telescoping card in action here.
I worked with three circles, but you can use any shape.
For the front circle I used the pocket watch frame of Tim Holtz. I cut it out of cardboard, colored it with peacock distress ink, embossed with clear embossing powder and flickered some off. After melting with the heatgun I overinked with raspberry pink distress ink.
This is one of the techniques I want to learn the students.
Another technique is stamping with distress markers. That's how the little fawn was done.
The leaves of Dyan's stamps were colored in with distress markers.
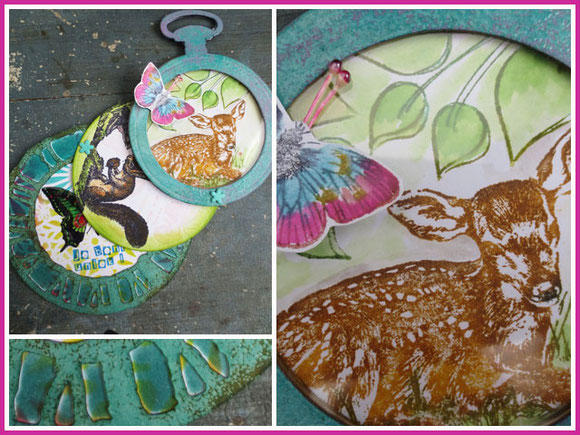
I cut the pocketwatchframe a second time in cardstock( circle cut out) and once in clear packaging plastic ( completely without the middle cut out).
I layered them all and created a little 3D box.
The butterfly was stamped and colored with distress markers.
The moving part of the card still works when you make the card thicker as long as you use a split-pen that's long enough.
The weathered clock for the third circle was colored with the same technique of distress inks and clear embossing powder.
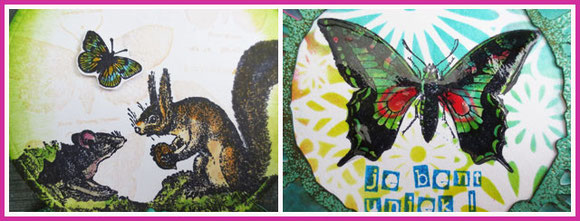
Stamps on the second and third card were colored both with distress markers and distress stains.
The butterfly gots it's thick shiny finish by putting glossy accents on top.
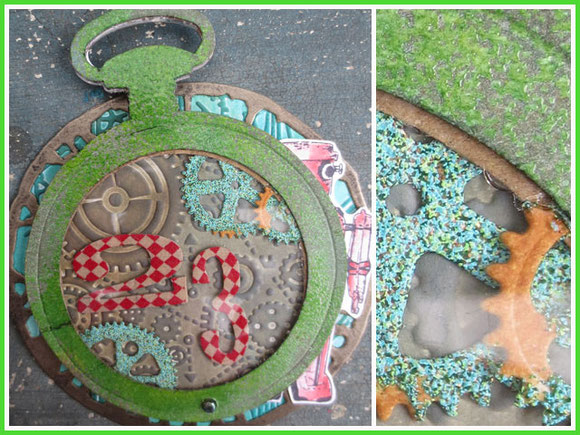
I made a second example, but I won't be able to show it to my students cause I already gave it away for the birthday of my son's best friend Sion :)
For the pocket watchframe I used the same technique but this time with mowed lawn distress ink.
The gears were embossed with verdigris embossingpowder ( Ranger).
Instead of stamping on the first circle, I embossed this one with the gears embossingfolder (Tim Holtz).
The numbers are washitape on cardboard cut out with the Word Play die.

Here you can see again how the telescoping card opens.
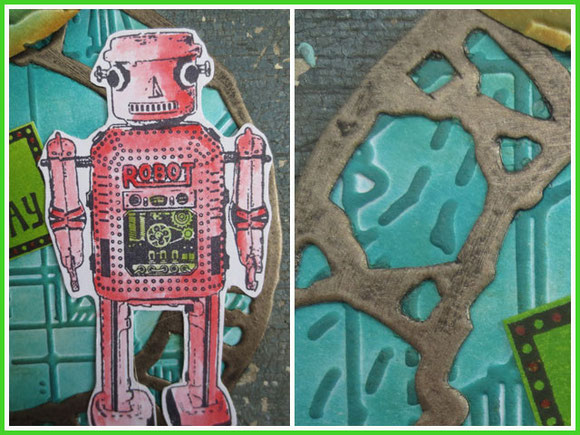
I love this robotstamp ! It's from Dark Room and I found it when I was at the craftshow in London past spring.
I thought this one was perfect for the sweet geek Sion is :)
Stamp was colored again with distress stains.
The weathered clock was embossed with metallic embossing powder, colored with black distress paint and then wiped off again. A technique I learned from Shelly Hickox and one I want to pass on to my students.
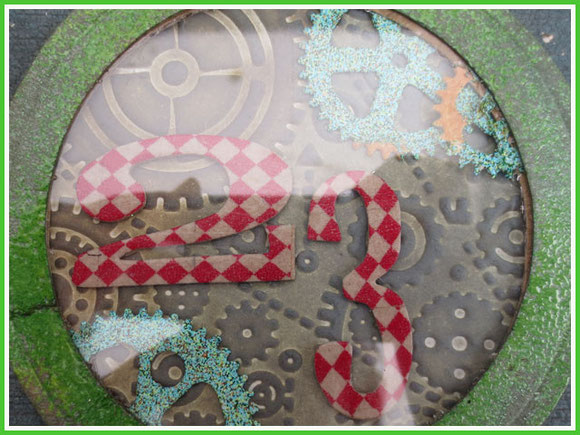
A close up of the front card and you can see the reflection on the clear packaging plastic.
Vacation is also sale-time and time to finally go to the shops and get what I need ( I don't like clothing shopping or shoeshopping....craftsuppliesshopping is something I DO like...)
I needed new Birkenstocks as my previous ones were falling apart...
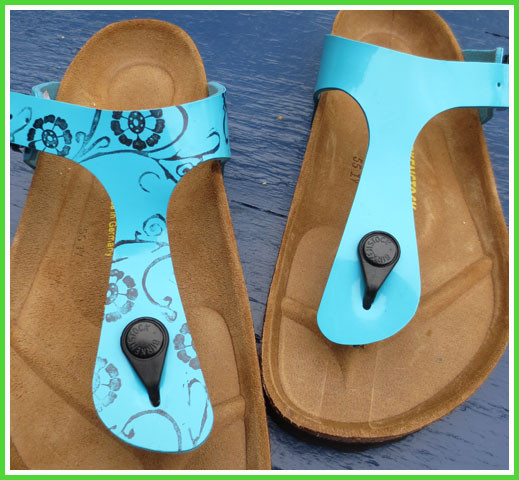
They had nice Birkenstocks in nice colors, but no fancy prints...
So I customized mine with stamps and stazonink :)
Happy feet again !
greetings from Belgium
Inge


Reactie schrijven
Bethan (maandag, 29 juli 2013 23:38)
Is there just no end to your talent and creativity!!!! loving your projects Inge...fabulous!x
Marita Kovalik (dinsdag, 30 juli 2013 23:19)
Love it all, Inge, especially how you made your new Birkenstocks unique and artsy!
patricia (donderdag, 01 augustus 2013 20:13)
proficiat Inge en wat gaan we weer moois maken!
Gina (maandag, 01 januari 2018 01:47)
I love your customized Birkenstocks, I have been thinking of using stencils to try this out. Great idea!
Kindly,
Gina
www.ilovebirkenstocks.com